
Wes Heemskerk
Service Management Consultant
So, you’re ready to improve your services. Making a customer journey sounds like a plan, but what’s the goal of customer journey mapping? And once you’ve decided it’s the right approach for your service desk, how do you create customer journeys for your services?
Why customer journey mapping?
A customer journey helps you find opportunities for improvement where measurements and statistics can’t find them. Maybe you’ve got SLAs or other measurements in place to monitor the quality of your service delivery, but that doesn’t mean you always know where your opportunities for growth and improvement are. That’s where customer journey mapping comes in.
Step into your customer’s shoes and see what your customers experience when they request a service from your department. Is it easy to request a new laptop, for instance? Do customers feel informed when they talk to your service agents? And what about after they get their laptop: is everything set up and ready to go? And are your agents easy to reach for questions?
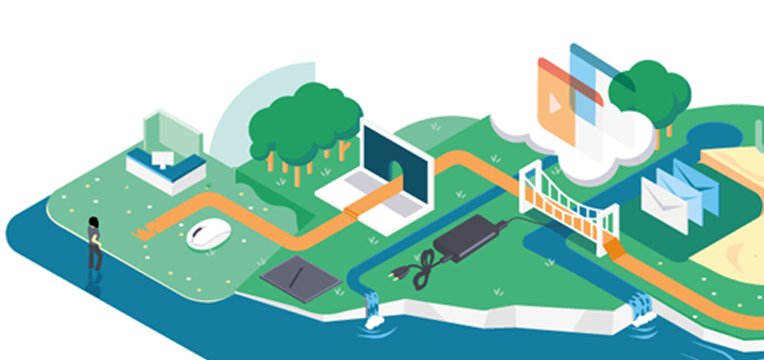
This is what a simple customer journey map looks like >>
How to map your customer journey in 10 steps
Now you know how customer journey mapping will benefit your organization, but where do you start? Before you start our interactive workshop or dive right into mapping your own customer journey, keep in mind these ten steps for an excellent customer journey map:
1. Start with one journey
Map a single customer journey at first. For instance, take a look at the steps your customers go through when they order a new laptop.
2. Engage all relevant parties
Your customer experience is a joint responsibility. Avoid creating a one-sided journey map by involving all teams that work on a specific service. Don’t map your ‘new laptop’ customer journey with just the service desk. Get the IT colleagues that prepare hardware and software to join too.
3. Determine your desired customer experience
make sure you have an idea of what kind of experience you want and what’s realistic for your teams. Your approach to choosing improvements is different depending on whether you want to deliver a fully configured laptop that customers can use without asking more questions, or a laptop that has the basics set up but gives customers the freedom to pick more apps and settings for themselves.
4. Create a persona
think of the type of customer that would usually request the service you want to map. What’s their job title? Would they prefer calling you on the phone would they rather send an email? What does your customer expect from your service? What software do they want on their laptop, and do they want to have everything pre-installed or do they want t Give your persona a name and make them as accurate as you can.
You may need multiple personas if your customers are very diverse, but start with just one for your first customer journey.
5. Get an idea of your current customer experience
Find customers who have recently requested the relevant service from you and interview them about their experience. Ask about their expectations and whether those expectations were met. Be sure to ask questions about different stages of the customer journey.
Find out how easy it is to request a new laptop, how well your agents answered questions after the laptop was delivered and everything in between.
6. Plot your journey
Give your journey a title and write down your customer’s goal and expectations. Make sure you plot the real journey based on your interviews, not the ideal situation you want to achieve.
7. Describe all touchpoints
Use the customer journey template we’ve provided to put your touchpoints on a timeline. Your touchpoints become clear from your customer interviews and include all communication during the service process, plus moments when customers feel communication is lacking.
Make sure you include the entire journey from start to finish. If you’re issuing a new laptop, your customer’s journey doesn’t end upon delivery. How do your customers feel about the aftercare you offer?
8. Link emotions to touchpoints
Use the customer journey template to put emotions under each touchpoints. Then plot a linear graph of your customers’ emotions, with positive emotions being high points, and negative emotions low.
9. Translate your insights into opportunities
The linear graph under your journey shows you which touchpoints make your customers feel satisfied or dissatisfied. This shows you where you can make improvements. Maybe your customers feel dissatisfied because of the waiting time when they request a laptop. You may not be able to speed up the process, but what if you build in a status update between request and delivery?
10. Keep improving
Now that you’ve got your customer journey ready, maintain it. Create built-in opportunities for feedback, so your customers can help you improve even further.
Next up: start customer journey mapping yourself
Now that you know how customer journey mapping works it’s time to get started. We’ve made customer journey mapping a piece of cake with our toolkit. In the toolkit you’ll find a digital workshop and all the tools and templates you’ll need to take the first step in improving your customer experience.

Submit a Comment